The Story
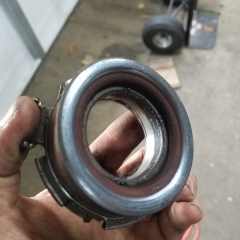
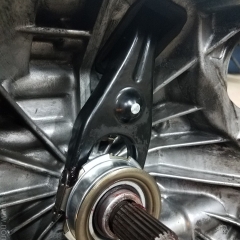
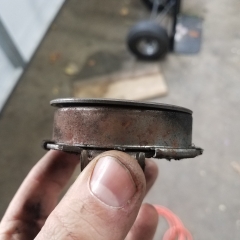
I guess the last post I made as about the trip to Maine. Toward the end of the trip, aka during the drive home, I noticed that the clutch was making a slight ‘whirring’ sound when pressed. Turns out this was either the throw out bearing going out, or the throw out bearing having gone out and the metal sliding on the clutch springs. Shortly after getting home, the slight whir turned into a full on screech as the bearing totally locked up and started grinding the metal of the bearing against the metal of the clutch springs.
I bought the parts, and following a guide I found online for a Subaru Impreza, managed to change the clutch… three times.
The first time, I used a non-OEM clutch from Valeo that according to spec would work, looked and felt like it would work, but alas didn’t work. I thought maybe I did something wrong, so I took thing apart and tried again (attempt #2) with the same results. I could kind of drive the car, but I could never fully disengage the engine from the transmission even with the clutch all the way down. It was like driving a manual without synchros – if I got the engine to transmission speed matched then I could shift. What this meant is that if I stopped the car if had to turn off the engine, put it in gear and start the engine in gear. I did drive like this just a little bit to see if there might have been a need to wear the pressure plate in or something like that, but that made no difference.Neil came over and we did a bit of diagnostics and ended up discovering that replacing the clutch slave cylinder push rod with a longer rod made things work. I still can’t quite explain that, since it’s a hydraulic (“auto adjusting”) clutch and the total throw was no different, but the extension was slightly longer. I suppose I could have just crafted a longer push rod and called it done but that seemed like asking for problems later. This was the end of weekend #1.
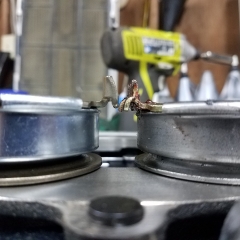
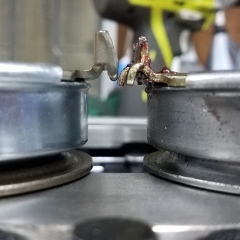
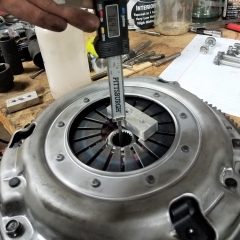
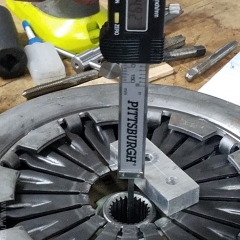
After ordering Exedy (OEM) parts and removing the Valeo parts I stacked them side by side, measured and saw about a 4mm total stack up difference. The Valeo clutch was thinner, so I guess it could have worked out to be just enough to prevent the clutch arm from pressing the springs far enough. In the end, I didn’t want to continue playing clutch diagnostics, so I just returned the Valeo parts.
This is also about when I took a bus to Traverse City and retrieved MacKenzie’s (now mine) Jeep. It now lives in Grand Rapids, so I have a spare vehicle.
The next weekend I finally took things apart one more time and put them together with the Exedy clutch and everything worked perfectly. Could have saved 20ish hours and a late night adventure to Traverse City doing that from the get-go. I think it took me 11-12 hours the first pass and 10ish hours the second and third times. 30 hours plus total is a bit excessive, but the original 12 hours, had all the parts worked, would have been quite reasonable I think for a job that probably cost upward of $1000 to have done.
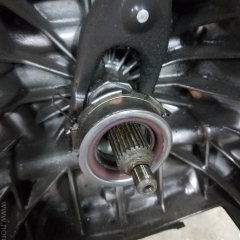
I would also like to note that I think this is a complete failure of Subaru. My clutch plate had like 75% of it’s life left and that’s the wear element in this scenario. If there is an issue with the TOB it is typically wearing that snout on the transmission where it slides. For the bearing itself, a non-service item, to fail when both those other, typical wear points are in great condition is just a premature component failure. Subaru has a great all wheel drive system, but in my experience, everything else about the car is just average.
The Work
Most of the work was in removing various parts under the car to get to the one part that needed replacing. Somewhat in order:
- Remove CV axles (which also means remove wheels, breaks and hubs to pull the CV axle out)
- Unlike the guide which was written for an Impreza, for an Outback, I did not need to remove the exhaust, I just separated it at the middle joint and let it hang down. The fancy bolt and spring kit was rusted out and got destroyed in removal, so that was one additional part to acquire.
- Removing the drive shaft was a bit of a pain in getting things to shimmy just right. It also had some tight fits on the bolts so ratcheting box end wrenches were great to have.
- Removing the transmission mount was pretty easy with the help of an impact driver. Just hammer it loose and drop it down (making sure to have a jack under the transmission first.
- Removing the the exhaust heat shield was no big deal.
- Freeing the shift arms required a bit of dexterity but wasn’t too difficult.
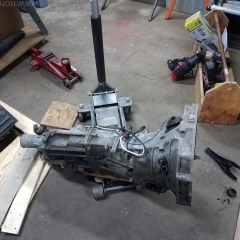
- Breaking the transmission free wasn’t too horrible, some high torque bolt in slightly awkward places reaching up or down behind the engine. Sliding it out of place was a bit more of a challenge. Fortunately and unfortunately, I was working on the ground without a transmission jack. This meant I didn’t have to hold the transmission in the air, but I did have to keep it balanced on a floor jack while scooting it backwards off the mounting studs.
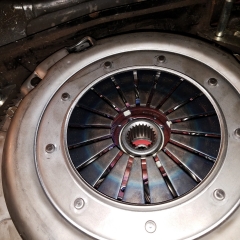
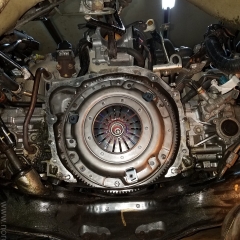
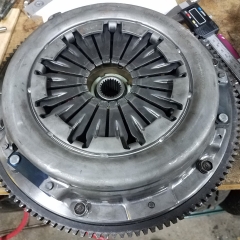
- Removing the clutch wasn’t too horrible – six moderate torque bolts – the trick is just in holding it still while breaking them free.
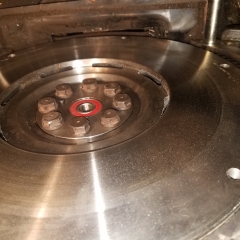
- Removing the flywheel was a bit harder – higher torque bolts closer to the center (and in the end I didn’t need to do this at all). But this was helped by a trick of using one of the clutch bolts and a scrap of metal to hold things still.
Of course, putting it back together is just following those steps in reverse with the addition of making sure the clutch is aligned, the pain in the ass of lining up the transmission to the engine and being careful to avoid cross threading any bolts (I managed, though I had a few close calls).
The difficulty of reversing step number 8 and reattaching the transmission tot he engine should be emphasized. This by far the most challenging part of the whole event – getting the transmissions studs and the clutch spline to align while balancing a 125# transmission on a jack and trying to slide it forward. There were a couple moments of just leaving for a bit and coming back to try the exact same thing half an hour later until it worked.
Pictures
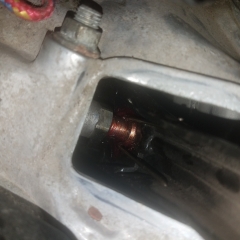
I was going to distribute the pictures throughout the text, but I didn’t really document in a step-by-step fashion. That was covered nicely by the forum link above, just the things that I noted along the way.


